Indoor portrait photography has its charms and obstacles. Unlike outside shootings, you have better control over the indoor portrait lighting, backdrop, and props. However, it takes a strong grasp of lighting. Whether you're an experienced photographer or a novice, knowing the interplay of natural and artificial light will help you improve your interior photography skills. In this article, we will focus on the following topics to help you get better indoor portrait outcomes.
- What indoor portrait lighting equipment is needed?
- How to set up lighting for portrait photography at home with natural or artificial lights?
- FAQs

What lighting equipment do you need for indoor portraits?
Here are some common options for illuminating indoor portraits. You don’t need to invest in all of them. Just pick the tools that suit your photography needs.
- Key light: A major light source that provides essential illumination for the subject. This might be a continuous light, a studio strobe, or a natural window light.
- Fill light: A secondary light source that fills in the shadows cast by the key light. This can be reflectors, bounce cards, or extra lights adjusted to a lower intensity.
- Background lights: Depending on the intended look, you may wish to include lights to illuminate the background independently. This can be achieved by using spotlights, colored gels, or backdrop light stands.
- Light modifier: This is used to control or soften the indoor portrait lighting, including umbrellas, softboxes, diffuser, and so on. These assist in creating softer shadows and attractive lighting.
- Stands and tripods: This tool helps position your lights properly and securely.
- Light meter: While not required, a light meter can help you accurately estimate the amount of light falling on the subject. This results in consistent, well-exposed portraits.
Remember that the equipment you pick will rely on your available space, budget, and creative vision. Experiment with different settings and change the location and intensity of the lights to get the desired effect.
How to set up lighting for indoor portraits?
Indoor portrait photography lighting tips differ by the types of light source you mainly use.
If you have indoor portraits with natural light
If you decide that natural lighting is best for your indoor photography project, here are three important tips to maximize your results.
1. Find the proper light source for indoor natural light portraits
- Determine the primary natural light source within your indoor environment, typically sunlight filtering through windows. Optimize light quality by placing your subject near windows or doors.
- Ensure uniform lighting to prevent shadows by balancing multiple light sources like windows. Note that north-facing windows offer soft, consistent light, while south-facing ones give harsher direct sunlight.
- Experiment with subject positioning to discover the optimal angle. Adjust their placement throughout the day as the sun shifts to maintain ideal indoor portrait lighting.
- Avoid mixing different light sources to prevent color inconsistencies and unwanted shadows. If supplementing natural light with artificial sources, select lights that emulate natural light qualities for a cohesive, authentic photographic style.
2. Use Aperture Priority Mode to manage depth of field for indoor portraits
Utilizing Aperture Priority mode on your camera grants you the ability to manage depth of field, empowering you to control the focus in your photographs creatively. When capturing indoor shots with natural lighting, employing a wider aperture (lower f-stop) can enhance light intake and produce an appealing background blur.
Experimenting with various aperture settings aids in discovering the optimal balance between a well-defined subject and a pleasantly blurred backdrop. Broader apertures facilitate increased light penetration into your camera, making them advantageous for dim indoor settings.
3. Take indoor portrait photography at the right time of the day for target effect
The time of day will influence the indoor portrait photography lighting, particularly concerning the color temperature. Color temperature refers to the spectrum of cool and warm tones emitted by lighting. Varying times of the day yield different natural light tones, so it's important to make adjustments accordingly.
For instance, capturing photos during the golden hour, shortly after sunrise or before sunset, yields warm, gentle light. Adapting your white balance settings to match the time of day ensures accurate color portrayal in your images. In contrast, midday sunlight may lean towards cooler tones, necessitating color adjustments.
The time of day can also impact the intensity of indoor portrait lighting. Midday light tends to be harsh, leading to pronounced shadows. Using diffusers or shooting in shaded areas can mitigate this effect and soften the light. Additionally, specific weather conditions, such as light cloud cover, can serve as effective natural light diffusers for your photos.
If you get lighting for portraits at home from artificial light sources
If the natural lighting in your home studio is not optimal, or if you require greater creative control, artificial lighting can be the preferable option. Here are three suggestions for making the most of it in indoor portrait photography:
1. Invest in the suitable equipment and place it properly
It is essential to carefully select the appropriate lighting equipment for your indoor setup. Various types of lights, such as strobes, continuous lights, or speedlights, offer different advantages for your photos.
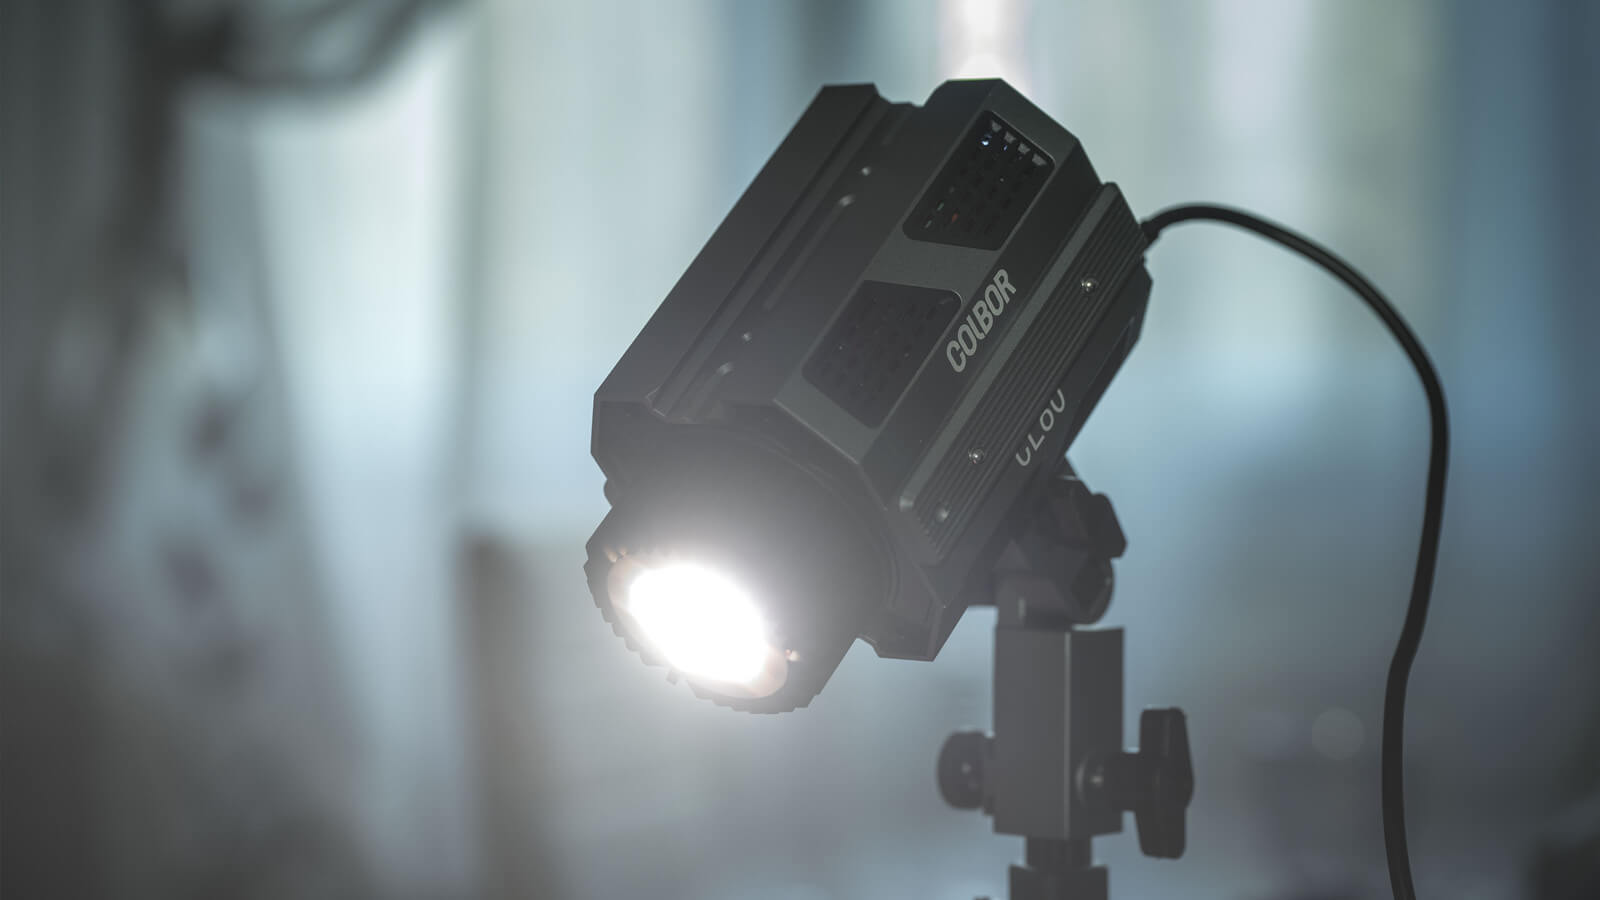
Continuous lights like COLBOR CL60 are a popular choice for both beginners and professionals as they provide a consistent light source throughout the shoot. On the other hand, strobe lighting offers brighter and higher-quality illumination but requires more expertise and sometimes an additional lighting assistant.
Once you have chosen your lighting type, you can experiment with different tools like umbrellas, softboxes, or mirrors to achieve your desired effect. Additionally, strategic positioning of your lights is crucial to control shadows and highlights. Consider the angle and distance of your light sources to add depth and prevent flat-looking photos. Lastly, ensure that your lighting setup does not create unwanted shadows.
2. Use a light meter to avoid underexposed or overexposed indoor portraits
A light meter is a crucial tool for indoor portrait lighting as it enables precise measurement of light intensity in your scene. It plays a key role in ensuring correct exposure and preventing underexposed or overexposed areas in your photos. Maintaining consistent lighting across your subjects is essential for achieving a unified appearance. When working with multiple light sources, a light meter is invaluable for creating a balanced and well-exposed scene. It is important to take readings at different points in your setup to detect any inconsistencies and make appropriate adjustments.
3. Experiment with different indoor portrait lighting setups
When it comes to artificial lighting, the possibilities are endless. Experiment with various setups, angles, and intensities to discover the best results. Don't be afraid to experiment with unique lighting setups, such as direct flash, colored lighting, or reflecting accessories, to add drama and flair to your indoor portrait photography. Experimenting with different editing techniques in post-production might help your photos stand out even more.
FAQs
Is it possible to supplement natural light for indoor portraits with lamp light?
The answer is no. Avoid mixing natural and artificial light sources when shooting indoors to maintain consistent white balance in your images. Stick to using only one light source to ensure the best results and turn off any additional lamps or overhead lights in the room. Also, remember to switch off lights from other rooms that might cause unwanted light spillage into your shooting space.
What if there is not enough daylight coming through the windows at home?
If you're having trouble finding a location with excellent natural light and prefer not to use a flash, consider utilizing your front door as a reliable option. The front door typically provides ample light for indoor portraits as it is larger than your subject. Additionally, garages are also noted for offering fantastic lighting conditions.
What are the common directions of indoor portrait lighting? What are their effects?
When shooting indoors using natural light, it's important to make the window your main light source. This will determine the direction from which the light enters and affect the overall ambiance of your photographs. There are three primary directions of window light, each producing distinct effects:
- Frontlight: Positioning your subject to face the window results in front lighting, which highlights detail while softening shadows. This indoor portrait photography lighting is ideal for creating flattering portraits and product photos, but it may lack depth, prompting the use of sidelight.
- Sidelight: By placing your subject at an angle to the window, allowing the light to fall across them, you achieve sidelight. This produces striking contrast and accentuates surface textures, making it suitable for still life, food photography, and adding depth to images.
- Backlight: Shooting toward the window with the light serving as the backdrop creates backlighting. This can produce intense silhouettes and glowing outlines around the subject, but it requires careful exposure adjustments to avoid over- or under-exposure. It's essential to consciously adjust your exposure settings when capturing backlit photos to achieve the desired effect.