Setting up live streaming lighting properly is an effective way to take your streams and videos to the next level. It gives live streamers a more professional look, creates moods, and improves the engagement of viewers. If you are a novice streamer who wants to appear professional on platforms like YouTube, Twitter, or TikTok, you can read on to acquire the following information.
- Is it good to use natural sunshine to illuminate your live stream?
- What to consider if you want to buy artificial light for live streaming?
- How to set up streaming lighting properly?
Is it enough to use natural lighting for live streaming?
The answer is no.
You may believe it is enough to use the natural light shining through your window. Although you can go live streaming that way, we don't think it's smart. Natural light is dispersed unevenly across space (and might be obstructed by trees or other objects) and is hard to control. Do you want the weather to control your streaming schedule? Then you can go with natural sunshine! But honestly, even if you live in a sunny location, invest in backup lighting!
What light for live streaming to use: Consider the following factors
With so many options on the market, it is hard to decide which to use. To choose the best lighting for YouTube live streaming, these five key factors can help:
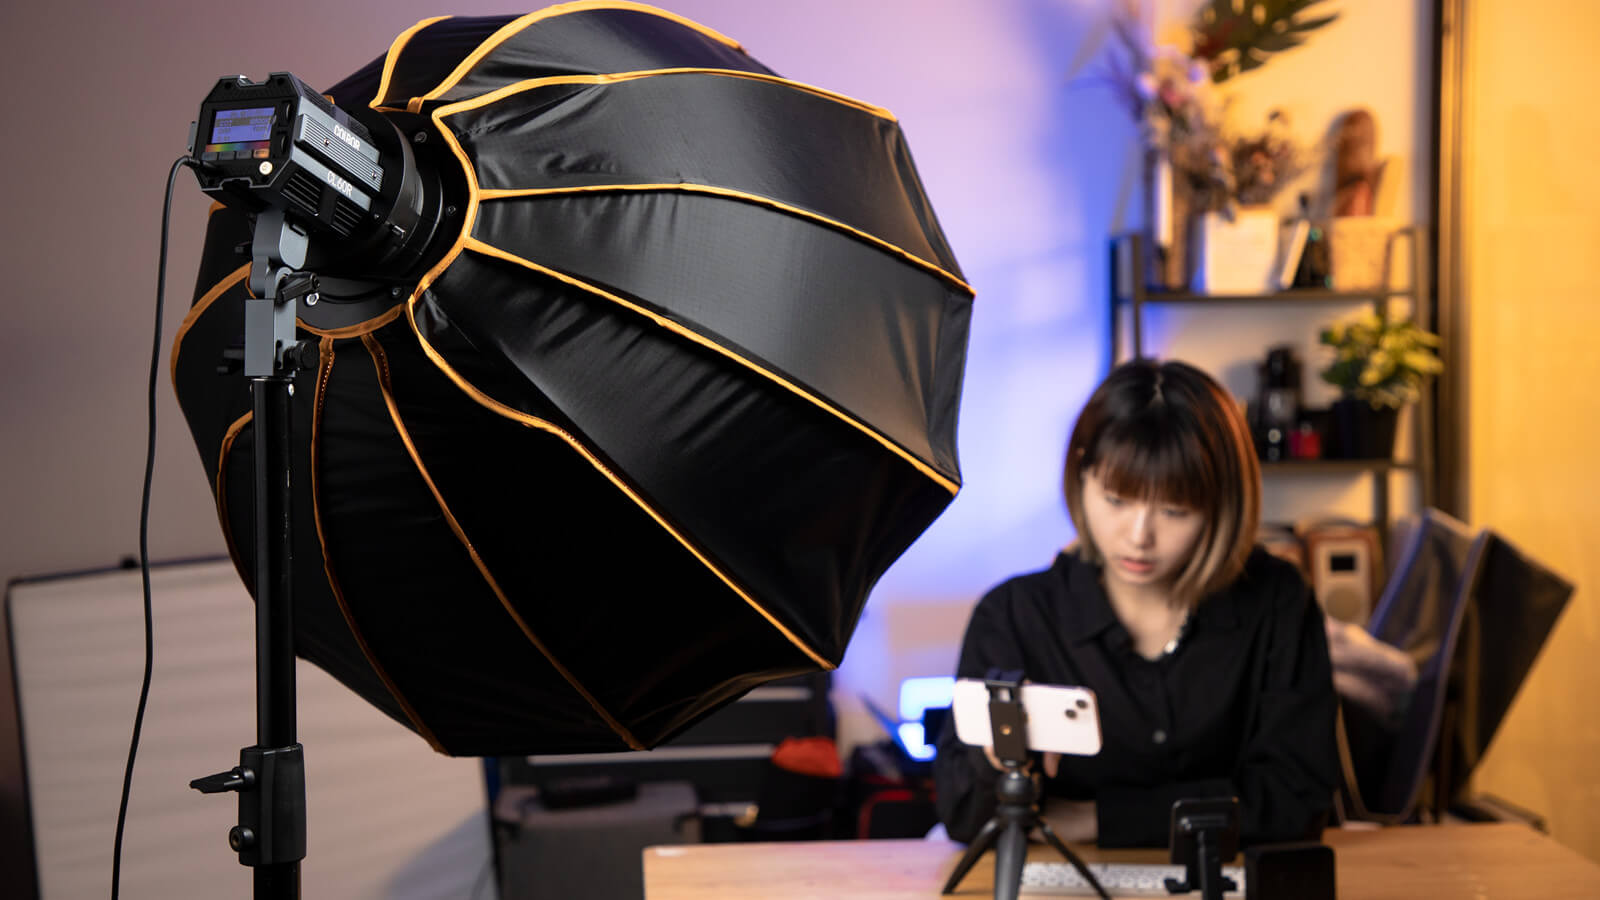
Type and purpose: LED light is the top choice for live streamers
Different types of lights offer different functions, so you need to consider your requirements of live streaming lighting ahead of time. LED lights for live streaming are the most popular choice since they are bright, eco-friendly, energy-efficient, and adjustable in brightness and color temperature.
As for the purpose, ask yourself how you want to use the light. Is it necessary to illuminate the entire space or just a specific area? Will you require dimmable lights? Do you want to be able to change the color temperature?
Answer these questions and see how your selections stack up.
Light output: Lighting for live streaming video should be bright enough to illuminate subject and scene
The light for live streaming should be bright enough to illuminate the scene or subject. In lighting, there are two ways to quantify brightness: lumens and lux. Lumens measure the total amount of light released from a source in all directions, whereas lux measures the quantity of light that falls on a specific region. In general, you should look for a live streaming light with at least 250 lumens. In addition, the brightness should be adjusted according to the size of your room and the streaming types. Experiment with various brightness settings until you discover the optimal balance for your live feed.
Color temperature: A bi-color option is good for creating various moods during live streaming
Color temperature is measured in Kelvin and falls in the range of 1,000K to 10,000K. Which color temperature to use depends on how you want the streaming frame to appear. Do you want your image to have a warm and inviting tone or a colder and more natural feel?
If you don’t come out with a specific need, it will be advised to choose a bi-color option that allows you to create different moods. Remember to check the color temperature and see if it is adjustable when you purchase the light for live broadcast.
Price: Select a live streaming light that balances functions and price
This is also a key factor to help you narrow down the options. Look for the one that is the most cost-effective. Make sure what features and functions you need the light to have for live streaming. Don’t go for an expensive fixture with unnecessary functions.
On a budget but want reliable lighting? Click here to explore four streaming lights at COLBOR.
How to set up live stream lighting: Five steps to follow
3-point setup is the lighting setup for live streaming that is commonly used. Here are the steps to follow.
Set up key light for live streaming to illuminate streamer’s face
This is the primary light source to illuminate the main area you want to highlight. In live streaming, this is your face. To get the best illumination, position it off to the side and a bit behind the camera. Don’t place it in front of your face directly, or it will create a flattening effect.
Position a fill light to fill in shadows
This is the secondary light source to fill in shadows cast by the key illumination. It should be placed on the opposite side and also behind the camera. It should be weaker in brightness while more focus the key light.
Use a backlight to separate the live streamer from background
You may stand out from the backdrop by positioning a backlight behind you and out of the camera frame. It should be soft but direct. Set it at least 6 feet behind you on the side opposite the key light, on a tripod that has been lifted to around shoulder height. In addition, make sure it is out of the streaming video frame. In contrast, a backlight that is elevated higher above you is referred to as a "hair light," since it draws attention to the top of your head and produces a brilliant glow for a polished, businesslike appearance.
Use ambient lighting to create the vibe for live streaming
This live streaming lighting allows certain streamers' videos to have a distinct style that helps them stand out. If you want to establish a distinct visual character, bright and colorful room lighting might help. A smart room light is quite beneficial since it can modify the color of your lighting - and hence the atmosphere of your stream. This is also the only light that can be maintained in the camera frame and incorporated into the design of your streaming studio.
Adjust color temperature and brightness to avoid unrealistic effects
It is not enough to simply have the correct lighting for your streaming setup; you must also ensure that they perform effectively together. Turn off all overhead lights and close the blinds. Then, on your video stream, position yourself where you want to be and switch on the key light.
Next, set the color temperature to match your skin tone (any hue from cold blue to warm yellow). To avoid unrealistic results, you should try to match the color temperatures of each of your lights. Additionally, you should adjust the brightness to prevent the image from losing details due to very bright or dark areas.