You might excel in cooking, but creating enticing food videos requires a different set of skills. Cooking videos have become incredibly popular in the culinary and online spheres, and for good reason. The key to producing an exceptional food video lies in a straightforward formula: brevity, visual appeal, and an overhead perspective. Lighting plays a key role here. So how to light food for video? Here is the guide for you.
Get the best light for food videography
Lighting is a key component in food videography, helping to produce visually stunning and delicious food videos. There are two main light sources to use, natural and artificial lights. Here we will talk about what they are and their pros & cons. You can decide which to use based on where you film the food video.
Natural Light
The lighting produced by the sun and other natural light sources, including windows, is referred to as natural light. Natural light is preferred for its ability to bring out the genuine colors and textures of food, producing a warm and inviting atmosphere that makes viewers want to reach out and taste the meal.
Pros:
- It is often soft and diffused, giving food a more natural and appealing appearance.
- It is free and readily available, eliminating the need for expensive lighting equipment and allowing for easy access during the day.
- It may assist in highlighting the actual colors of the food, making it appear fresh and lively.
Cons:
- It is inconsistent. Natural light is affected by time of day, weather conditions, and location, making it difficult to manage and replicate lighting conditions.
- It is only accessible during particular periods of the day, limiting the shooting schedule.
Artificial Light
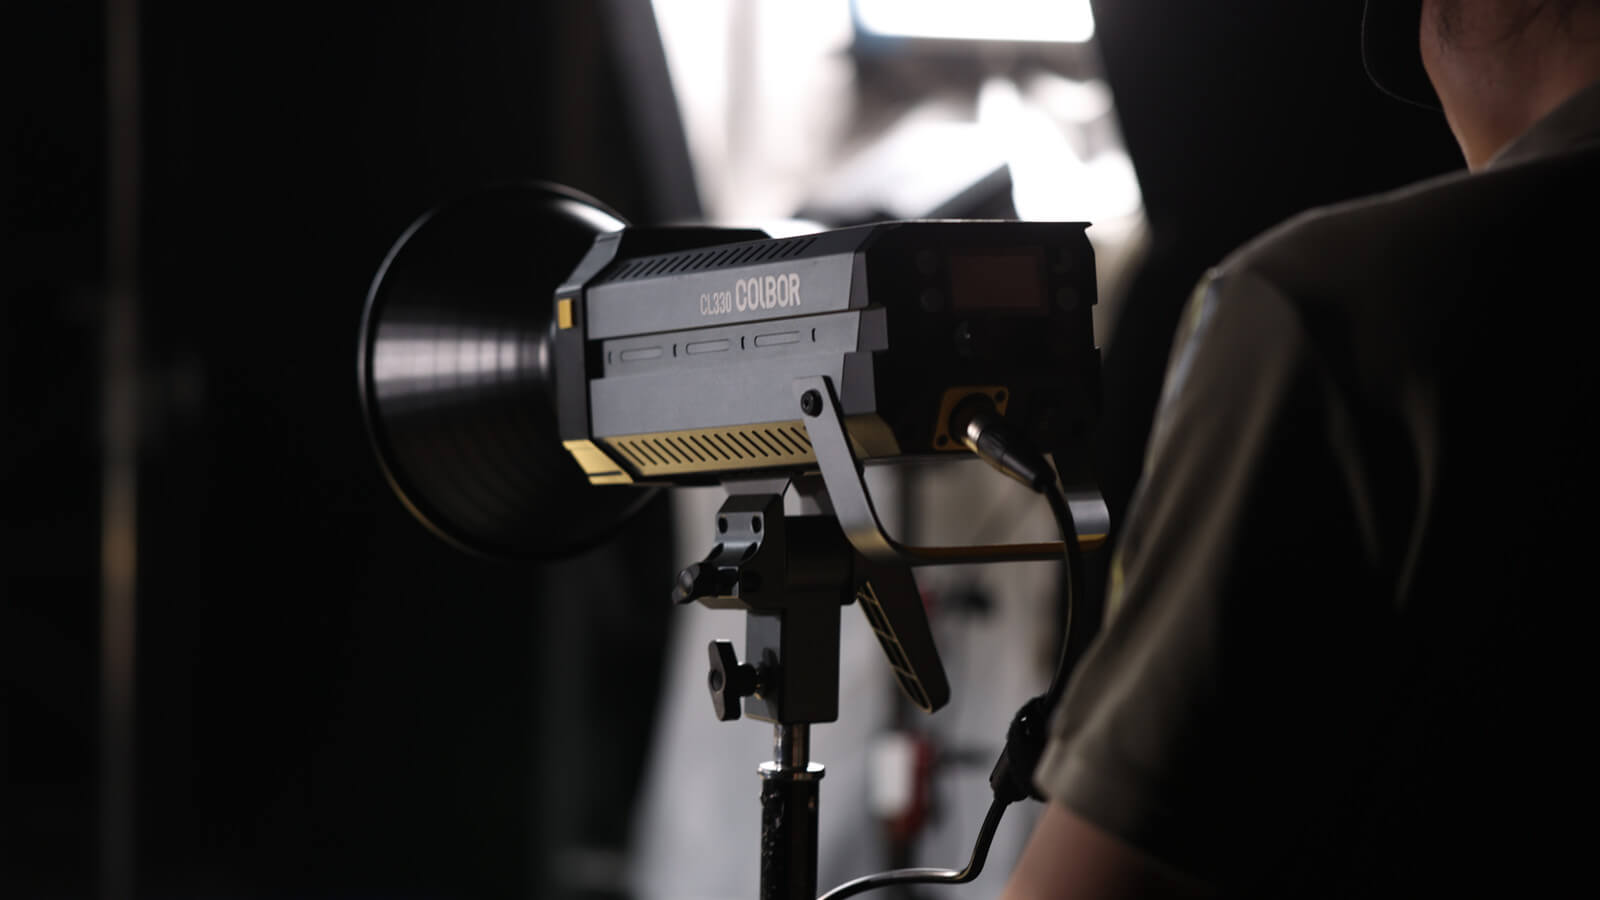
This often refers to continuous light, which is a constant light source that remains on during the whole filming process. It is available in different types, including LED constant light or tungsten light, and can be combined with accessories like softboxes or diffusers to achieve the intended outcome. These lights are advantageous for video production as they offer a steady light source without flickering or varying intensity, guaranteeing uniform lighting in the footage during recording. If you are keen on LEDs but don’t know what to choose, click here to check the best LED lights for video from COLBOR.
Pros:
- It gives you more control over the lighting for food videos, including the intensity, color temperature, and direction.
- Artificial light sources, unlike natural light, are consistent, making it easier to recreate lighting settings for multiple video shooting.
- It allows you to produce a variety of lighting effects to improve the atmosphere and style of your food videos.
Cons:
- High-quality lighting equipment may be costly, particularly for novices or those on a limited budget.
- Mastering artificial lighting techniques may take time and effort to attain the desired effects.
- Some can generate heat, which can have an impact on the food being shot if not handled appropriately.
In conclusion, both natural and artificial light offer benefits and downsides in food videography. The decision between the two is based on money, intended aesthetic, and shooting conditions. Experimenting with various setups and learning how each type of light influences the appearance of food may help you make visually appealing food videos.
Place the light properly according to what you want to capture
Unlike talking head videos, food or cooking videos require various camera angles to show the details. Therefore, how to light food for video is also a problem about different lighting placements to ensure appealing visuals.
For example, You can set up one of the soft boxes across from and slightly above where you are standing to cook. If you were shooting in natural light, you would position yourself so that a window aligns with this light source. When cooking in a pot or using a food processor, raise the light to illuminate darker areas inside. Otherwise, maintaining it at approximately a 45º angle directed downwards toward the table tends to yield the best results.
And here are some common ways that you can use to place the light to illuminate the food and their effects.
- Backlighting: Backlighting means positioning the light source behind the food, resulting in a halo effect around the borders that makes it look more bright and appetizing. It can enhance the sense of depth and accentuate the textures of the meal.
- Side Lighting: This occurs when the light source is positioned to the side of the dish, producing shadows that give dimension and drama to the frame. This approach can assist in highlighting the form and intricacies of the dish, resulting in a visually appealing composition.
- Top Lighting: It includes placing the light directly above the meal, resulting in bright highlights and shadows. This method is effective for accentuating textures and nuances on the surface of food, giving it a more dynamic and eye-catching appearance.
Adjust and fine-tune the lighting for food videography
Learning how to light food for video also requires the video creators to continuously check the lighting setup by the camera's viewfinder or monitor. Adjust the lights' location, intensity, and direction as needed to get the desired effect. Pay close attention to reflections, highlights, and shadows to get a balanced and visually pleasing frame. Here are some tips:
- Ensure uniform color temperature across all your lights for cooking videos, or adjust them accordingly to suit the desired ambiance. Warmer tones can enhance the appeal of food, while cooler tones can give it a fresher appearance.
- Manage Light with Accessories. Utilize flags, bounce cards, or gobos to direct light and prevent unwanted spillage. This technique assists in establishing a focused and deliberate lighting arrangement.
- Introduce specular Highlights. Position a small, intense light source to generate specular highlights on the food, enhancing its moisture and freshness. Carefully consider the positioning to accentuate the food's texture.
- Incorporate practical lighting elements like candles or a fireplace to imbue the scene with warmth and atmosphere. Ensure these additions complement the primary lighting scheme and do not detract from the focus on the food.
Test and shoot
Take test shots to assess the lighting and make any required adjustments before filming the final video. Experiment with various lighting setups, angles, and compositions to get the most visually appealing and tasty food videos.