The setup for food photography begins with light. Photography cannot occur without it. Food photography lighting is the most important. So, if you're feeling overwhelmed by all the photography knowledge you need to understand, this is essential. In this article, we will look at two basic setups for food photography, plus focus on some FAQs related to it.
Setup 1: Use backlighting in food photography especially for shiny food
Using backlighting in food photography presents an excellent method for accentuating the specular highlight that appears on the surface of glossy or shiny food items.
Definition
Backlighting occurs when light shines from behind the subject as viewed from the camera's perspective. This effect is particularly enchanting when capturing subjects that possess a shiny, transparent, or translucent quality. To capture backlighting effectively, position the camera in front of the subject, opposite the light source. Shadows are cast towards the front of the subject, creating depth and dimension. Embrace shadows as they contribute positively to the composition, enhancing its visual appeal.
Features
- Backlights are designed to draw your interest.
- It's not easy to work with since it produces deep shadows and tremendous contrast.
- It has to be modified and shaped to get the proper balance of highlights and shadows.
- Because the light source is behind the food, it produces dazzling whites and deep darks.
- It is not the most adaptable light and must be carefully selected depending on the food and atmosphere to be created
How to achieve it?
Getting this setup of food photography lighting involves the following steps:
Set up your backlight
You only need a single window or light source, and natural light is an excellent starting point. Position the light so it falls from behind the subject, nearly opposite the camera. Place your subject between the light source and the camera. If you visualize the light as a clock face, it should be positioned between 11:00 and 1:00 when viewed from behind the camera.
The appearance of the backlighting depends on the amount of light. If using natural light, consider how the dimensions, shape, materials, and characteristics of your window affect the outcome. Results may vary depending on the time of day and weather conditions, as natural light outside the window changes.
Experiment with moving your background or surface closer to or further away from the window to alter the shadows, light distribution, and wrapping effect. Try different positions to observe the variations in the lighting and shadows.
Exposing for backlit scenes
Mastering backlighting in food photography requires understanding camera operation and achieving proper exposure. Relying on automatic settings often leads to subpar results because the camera's light meter can misinterpret the bright backlight, resulting in underexposed or grainy images. Step 1 involves selecting the appropriate metering mode.
Step 2 entails stepping out of automatic mode and opting for either Aperture or Shutter speed priority. However, these modes still require adjustments to exposure compensation, especially in backlit scenarios where increasing exposure compensation is often necessary for adequate subject exposure.
For maximum control, switch to manual mode. This ensures consistent exposure regardless of changes in the scene, offering precise control over settings and histogram adjustments to preserve details in highlights and shadows.
Bounce in some food photography lighting
Even with overexposure, you'll encounter both dazzling bright areas and darker spots. This is where utilizing a bounce becomes useful. Introduce a white reflective surface to redirect some of the backlight towards the subject, thereby reducing the intensity of shadows. Any white surface can serve this purpose.
Position the white reflector near the front edge of the subject, facing towards it but just out of frame. When using window light, moving the reflector closer will visibly lighten the shadows. If the backlight is excessive, additional diffusion can be employed to soften the light and reduce its intensity simultaneously. If shadows persist despite the white reflector, consider the following solutions.
- Introduce a silver reflector, such as a specialized photography reflector or silver aluminum foil. They have enhanced reflective properties that significantly reduce shadows compared to white reflectors. Alternatively, small mirrors are popular for bouncing light towards the subject and can be quite precise. When using mirrors, aim the reflection just as you would with a flashlight.
- Consider moving the entire setup closer to the light source to boost overall light, increasing reflections into shadows. While this approach may not be suitable for every shot, it's worth attempting before giving it up.
- If desired, maintain the in-camera appearance with reflectors and adjust shadows further during post-production.

Setup 2: Use side lighting for food photography in most shooting scenarios
Side lighting is an all-rounder in food photography, suitable for almost all shooting scenarios.
Definition
Side light refers to the illumination that strikes the subject at a precise 90-degree angle from the camera. When the light source is positioned to the left or right of the camera, it is classified as side light. This food photography lighting setup is effective in almost any scenario, making it a valuable skill to possess.
Features
- The purpose of side lighting is to satisfy you.
- Sidelight is one of the simplest directions to deal with.
- It is readily controlled.
- Because the source is to the left or right, it takes use of both highlights and shadow depth.
- It is also an accessible direction. Our bedrooms and kitchens are typically constructed with windows on the sides, making this a natural direction of light to make use of.
- It works nicely with most types of cuisine. The orientation provides even illumination to the food, therefore the majority of subjects seem nice.
How to achieve it?
To illuminate this shot, position the light at a slight diagonal to the food to introduce directional shadows. Additionally, elevate the light above the set and angle it downward slightly.
When arranging your scene, experiment with the direction of food photography lighting, as it significantly influences the final photo's appearance in a side-lit composition. Depending on your shooting angle, adjusting the positioning can enhance the visual impact. For instance, for a top-down perspective, raising the light higher and angling it downward may be beneficial, while for a frontal view, lowering the light can elongate and direct the shadows effectively.
You may set a reflector opposite the light source to fill in the shadows and create a light, brilliant effect. If you prefer a darker, moodier image with plenty of contrast on your food, you may remove the reflector or add a black fill card to absorb more light and highlight the shadows.
FAQs
What are the common types of lighting for food photography?
Natural light for food photography: Natural light from the sun provides a soft, diffused illumination that can enhance the natural colors of the food. Window light is often preferred for food photography because it offers a gentle, flattering glow. Shooting near a window with indirect sunlight or using sheer curtains to diffuse harsh light can create beautiful results.
Speed lights: Speed lights, also known as off-camera flashes, offer a compact and lightweight alternative for photography on the go. This type of artificial lighting for food photography is also ideal for travel and outdoor shoots. However, due to their smaller size, they may lack the power of larger lights, necessitating the use of multiple units to achieve desired lighting effects.
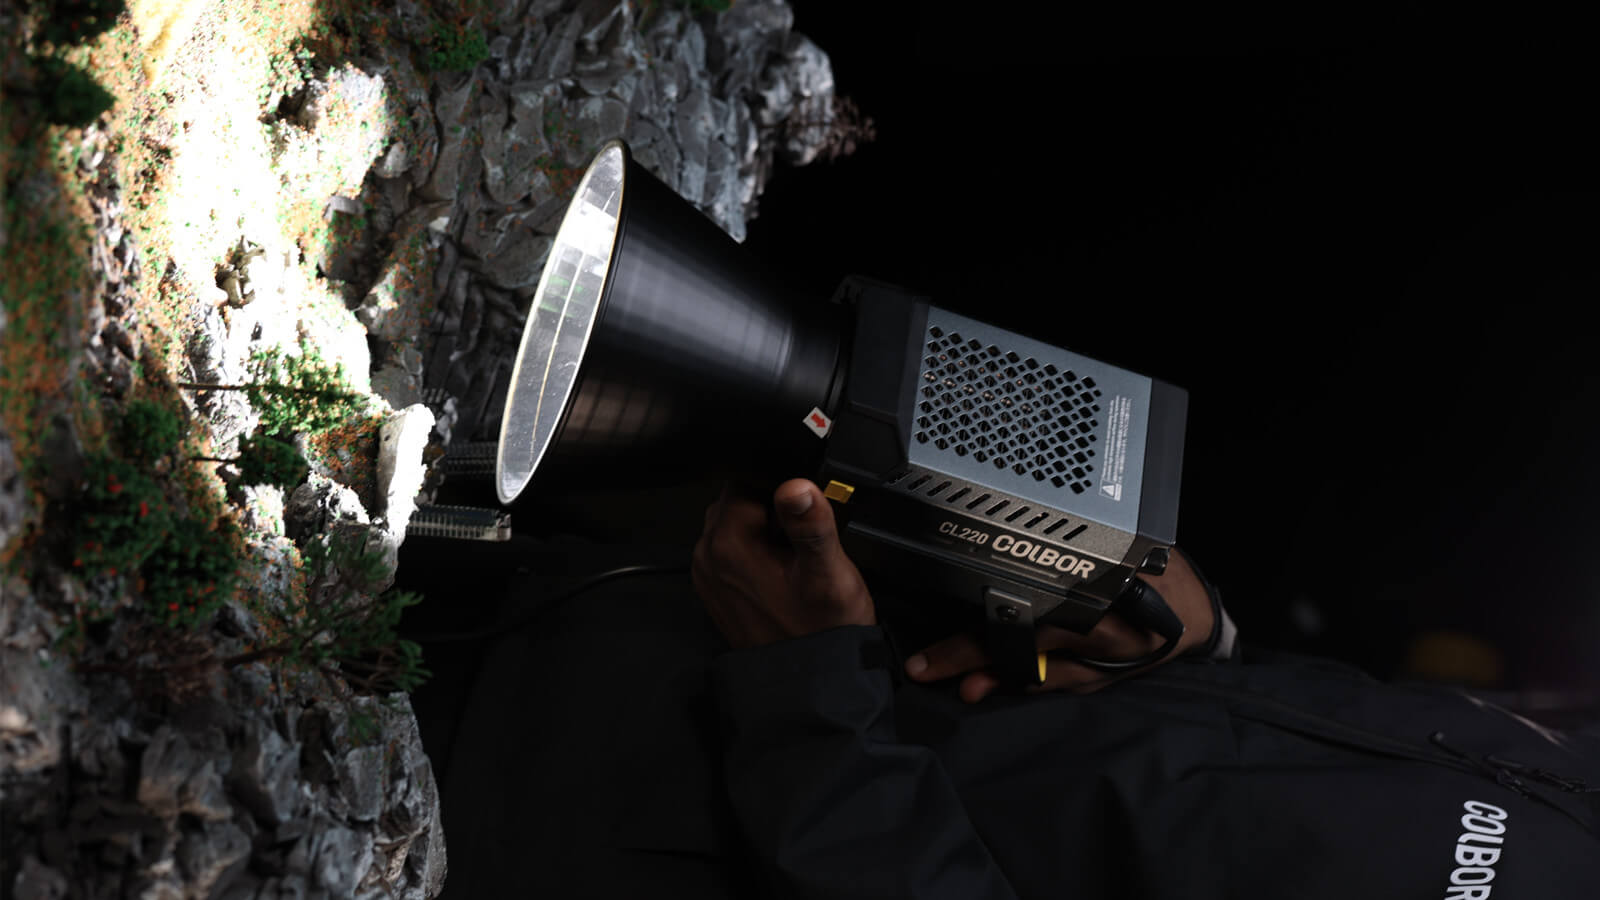
Continuous lights: Unlike speed lights, they provide a consistent illumination without flashing. They offer adjustable power settings, making them versatile for both photography and videography purposes.
Strobes: Similar to speed lights, strobes serve as off-camera flashes but with greater power output. While they are larger and more expensive than speed lights, their increased power makes them suitable for a wider range of lighting scenarios.
What food photography lighting equipment to use?
Regardless of the type of food photography lighting you opt for, there are essential additional tools required to ensure proper setup:
- Light stands: Utilize either a light stand or a C-stand to affix your light, facilitating adjustment of its position and height.
- Speed ring or mount: Similar to how your camera requires specific lens mounts for secure attachment, your light necessitates a compatible speed ring or mount to connect modifiers such as softboxes or umbrellas. Various brands may require specific types, such as the widely used Bowen's mount.
- Light modifiers: Enhance your lighting versatility with modifiers, which come in various shapes and sizes. These include softboxes, umbrellas, diffusion paper, grids, and snoots, enabling you to experiment with different lighting styles.
- Wireless trigger: Simplify communication between your light and camera with a wireless trigger, such as pocket wizards. This eliminates the need for excessive cables on set, providing greater flexibility in light placement. Note that continuous lights do not require a wireless trigger for operation.
Is continuous light for food photography better than flash?
Both continuous light and flash have their advantages and can be suitable for food photography, depending on the specific requirements of the shoot and the photographer's preferences.
Continuous Light:
- Control: This photography light enables food photographers to see exactly how light falls on the subject in real time, making it more simple to alter and fine-tune the food photography lighting.
- Ease of Use: It is often easier to set up and use, particularly for novices who may find it easier to operate than flashing lights.
- Natural Look: Continuous lighting can better simulate natural lighting conditions, resulting in a softer and more natural-looking illumination of food.
- Versatility: LED constant light may be used for both photography and video, making them an excellent choice for photographers who also film cooking videos.
Flash:
- Power: Flash units produce more intense bursts of light, allowing food photographers to capture clearer photos and effectively stop motion.
- Portability: Flash units are usually more portable, making them suitable for on-location filming or when space is restricted.
- Energy Efficiency: Flash units use less power than continuous lights, making them more energy-efficient and appropriate for longer shooting sessions.
- In short, the decision between continuous light and flash for food photography is determined by the intended look, shooting conditions, budget, and personal preference. Some food photographers like the comfort and natural appearance of continuous light, but others prefer the versatility and control provided by flash.
Experimenting with different lighting solutions can help food photographer decide which is ideal for their style and workflow.