Lighting is essential for creating high quality photos. It can come from natural and artificial lighting sources. Natural light often comes from the sun, which is free but hard to control. Photoshoot lights include continuous light, flash, and strobe. They give photographers more control over the lighting and offer more possibilities for lighting setups. However, choosing the best fixture can be tricky. In this article, we will recommend 3 options for photo studio lights and tell how to set up photoshoot lighting with natural and artificial lights.

Why does lighting matter in photoshooting?
Lighting plays a vital role in crafting compelling images, influencing not just the level of illumination but also the overall tone, ambiance, and emotional impact. Hence, mastering the control and manipulation of light is essential for achieving optimal texture, color richness, and luminosity in your subjects. Skillfully managing shadows and highlights enables the creation of stylized, polished photographs with a professional flair.
What photoshoot studio lights to use: 3 continuous lighting choices at COLBOR
COLBOR offers a range of photoshoot LED lights. They are different in fixture design and power output, offering various uses in studio photoshoots.
COLBOR W100: 100W LED light for photoshoot, ideal for on-the-go shooting
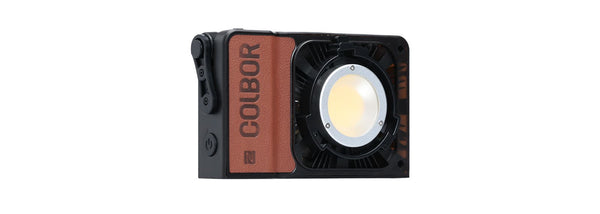
The COLBOR W100 is a portable LED video light at 100W. it is a good choice for key light in small photo studios and also good to work as the fill light to balance the photoshoot lighting and eliminate the harsh shadows cast by the key light. It comes in a similar shape to a mini camera and is portable enough to fit in your everyday bag. This makes it suitable for both studio and on-the-go shooting. The multiple power supply options also contribute to the portability. The W100 is DC-powered, and can be powered by a PD power bank, COLBOR power grip, etc.
Features
- 100W powerful output, providing bright and consistent illumination for various shooting conditions
- High CRI of 97+, ensuring accurate color rendition
- Adjustable color temperature from 2700K to 6500K
- Compatible with a range of accessories without the need for additional adapters
- Compact design with a weight of 345g and dimensions of 157x93x43mm
- Multiple power options, including DC power, COLBOR power grip, and PD Type-C fast charging
- App control is available for easily customizing your lighting setup
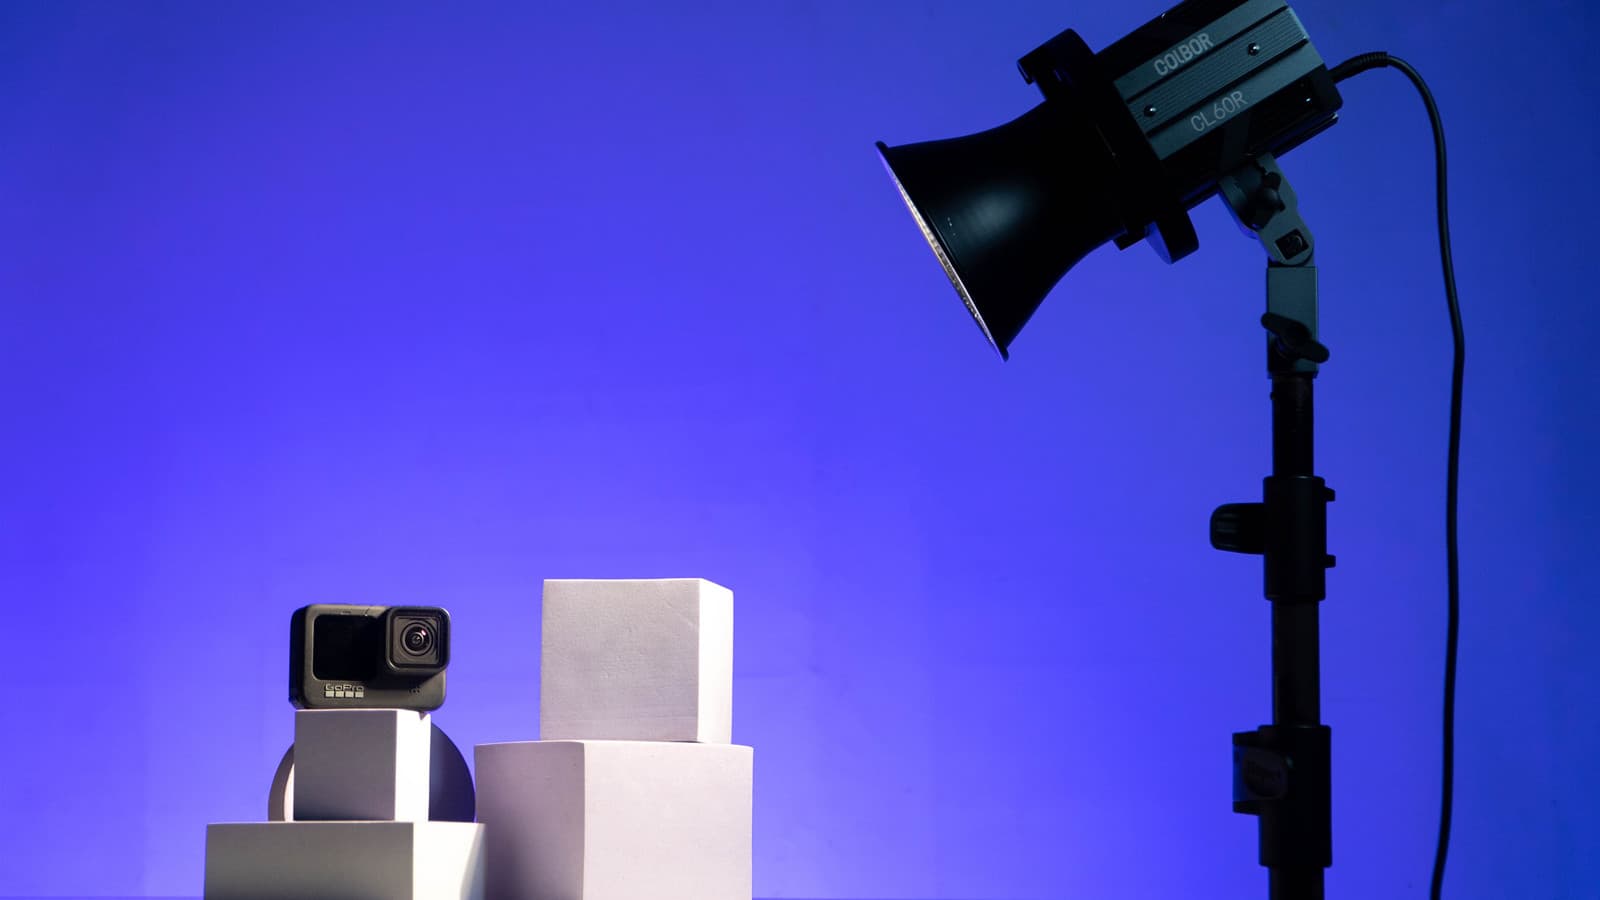
COLBOR CL60R: Color light for photoshoot to add creativities

The COLBOR CL60R is an RGB LED light offering 3.6 million lighting colors for studio photoshoots. You can use it as fill, back, and background lights in a large studio. You can also combine several units of CL60R to create a higher output for the key light. The CL60R features a function of Magenta and Green Adjustment. This means that you can adjust it to a magenta or green tint with a level of ten to match camera sensors or other light sources. It is a great function to ensure good skin tone in studio portrait photography.
Features
- 65W RGB COB light delivering 2,600 lux of 5600K lighting at 1m and a constant output of 22,974 lux at 1m with the included reflector.
- 360° color adjustable RGBWW allows for up to 3600000 colors in HSI mode.
- PowerCube design allows you to combine each 65W CL60R together to create a powerful lighting matrix.
- Magenta and Green Adjustment for correction of any tint
- 97+ CRI for revealing the original color of the subjects and ensuring authentic and beautiful colors in your photoshoots.
- Mobile power solutions like PD power bank, V Mount battery, NP-F battery
- Universal Bowens mount adapter makes the CL60R compatible with a variety of standard Bowens-mount light modifiers.
COLBOR CL220: One of powerful photoshoot lights for pros
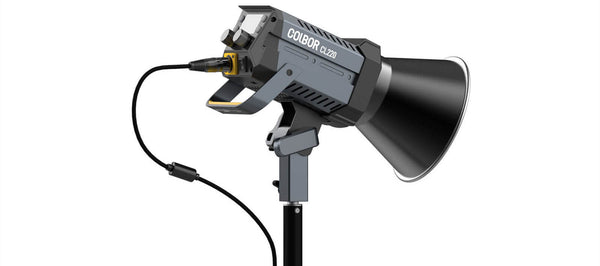
The COLBOR CL220 is an LED constant light at 220W. It offers powerful 52,700 lux of 5600K photoshoot lighting at 1 meter (* lab data) when used with the supplied reflector. This makes it a good choice of key light in studio photography. Its light base allows it to simply mount on the light stand and adjust the lighting angle. The standard Bowens mount makes it compatible with a wide range of light modifiers while the NATO grooves give more possibilities to photography accessories.
Features
- 220W constant output ensures bright and consistent illumination for your studio photoshoots.
- Illumination: 9,430Lux (at 1m 5600K, no reflector); 52,700Lux (at 1m 5600K, with reflector)
- A CRI ≥96 ensures accurate color reproduction and natural-looking tones in your photographs.
- A wide color temperature range from 2700-6500K allows for versatile lighting setups that can match any mood or style you’re aiming for in your studio photoshoots.
- Intelligent cooling system to maintain optimal operating temperatures and prevent overheating.
- The upgraded cooling fan operates quietly, maintaining a low noise level of 28dB (±2dB) at 1m, which is essential for video shoots where sound quality is important.
How to use natural light for photoshoot?
Here are four steps to use natural light for photoshoot studio.
Find a window to get ample natural light
It might seem evident, but indeed, any window will suffice! Avoid relying on household lamps for your shots. While tungsten light isn't inherently problematic, it tends to cast a distinctly warm, orange glow. For a more authentic look, opt for natural light from a window. You can attain satisfactory outcomes with any sizable window since it can offer adequate photoshoot lighting!
Have a uncluttered and simple background
For studio photoshoot like portrait photography, it's important to keep your background uncluttered and simple. A white seamless background works well for headshots, but be cautious with lighting to avoid shadows on the white surface. For a black background, opt for low-key lighting, which accentuates shadows and darker tones, ideal for creating dramatic black and white portraits. Soft or blurred backgrounds enhance portraits; achieve this effect by using a shallow depth of field.
Position the subject either directly in front of or to the side of the window
If you choose to side light your subject, you might need to bounce some light back onto the shadowed side of their face. This adds a touch of drama to your images and reduces contrast. Use a reflector for this purpose.
If you don't have a reflector or prefer a softer look, position your backdrop opposite the window. Stand with your back to the window and shoot. This technique results in soft, front lighting on your subject without the need for additional bounce light.
Experiment with both setups to see which one you prefer. It's all about finding what works best for your style and the mood you want to create. Testing different setups helps you understand their effects and allows you to capture the perfect shot.
Diffuse the natural light with a large, thin white sheet:
On particularly sunny days, natural window light might prove excessively bright. Flash offers the advantage of adjustable brightness levels, allowing you to control the intensity of studio photoshoot lighting to your liking. While altering sunlight intensity is challenging, it's not impossible – a diffuser can help. Simply hang a large, thin white sheet in front of the window to achieve beautifully soft, diffused lighting.
Photoshoot lighting setup with artificial lighting
This involves the following steps.
Position photoshoot lights properly according to your target lighting technique
There are several photoshoot lighting techniques to set up photoshoot lighting for different effects. Here are what they are and how to place the light to achieve the target effect.
Split Lighting: Position your light perpendicular to your subject's face, creating a stark contrast between one illuminated side and the other in shadow. This results in a striking, dramatic portrait with a vertical shadow line.
Rembrandt Lighting: Position your subject slightly beyond 90 degrees from the light sources, which should be at head height. One side of the face remains shadowed, while a small triangle of light accents the cheek. This technique, known for its soft shadows, flatters faces, earning its name from the painter Rembrandt, who frequently employed it.
Loop Lighting: Angle your light sources 30-45 degrees behind your subject, with a reflector opposite to bounce light onto the subject's face. When the light is slightly elevated on the opposite side, it contours the face subtly, offering a flattering effect ideal for portraits.
Butterfly Lighting: Place your light directly above and behind your camera, illuminating your subject straight on. This casts a butterfly-shaped shadow under the subject's nose. Adjusting the height of the light can create shadows on the cheeks, particularly effective for emphasizing prominent cheekbones.
Broad / Short lighting: This isn't precisely a method, but rather a way to define how much of the face is illuminated. When your subject's face is slightly turned one way, the light is broad if it illuminates the side of the face nearest to the camera. Alternatively, if the side of the face nearest to the camera is shaded, your light is categorized as providing short lighting.
Modify the studio photoshoot lighting
Here are some modifiers that you can use to control and manipulate the studio photography lighting.
Softboxes are affixed to your light source to diffuse the light, resulting in a soft and uniform illumination ideal for portrait photography. Umbrellas serve to spread and soften light, with reflective umbrellas bouncing light back and shoot-through umbrellas diffusing it as it passes through. Reflectors, on the other hand, are employed to bounce light onto the subject, fill in shadows, or enhance highlights. Available in various colors, reflectors offer different effects to suit your needs.
Adjust the intensity and colors of photoshoot lights
Modify the power settings of your light source to control its brightness level. Utilize distance strategically: bringing the light closer intensifies it, while moving it farther reduces intensity.
Gels, transparent colored materials, can be placed over the light to alter its color output. Employ them for creative purposes or to harmonize with the color temperature of other light sources. If you have RGB lights for studio photography, it will be more convenient to adjust the color with onboard controls or app adjustments.