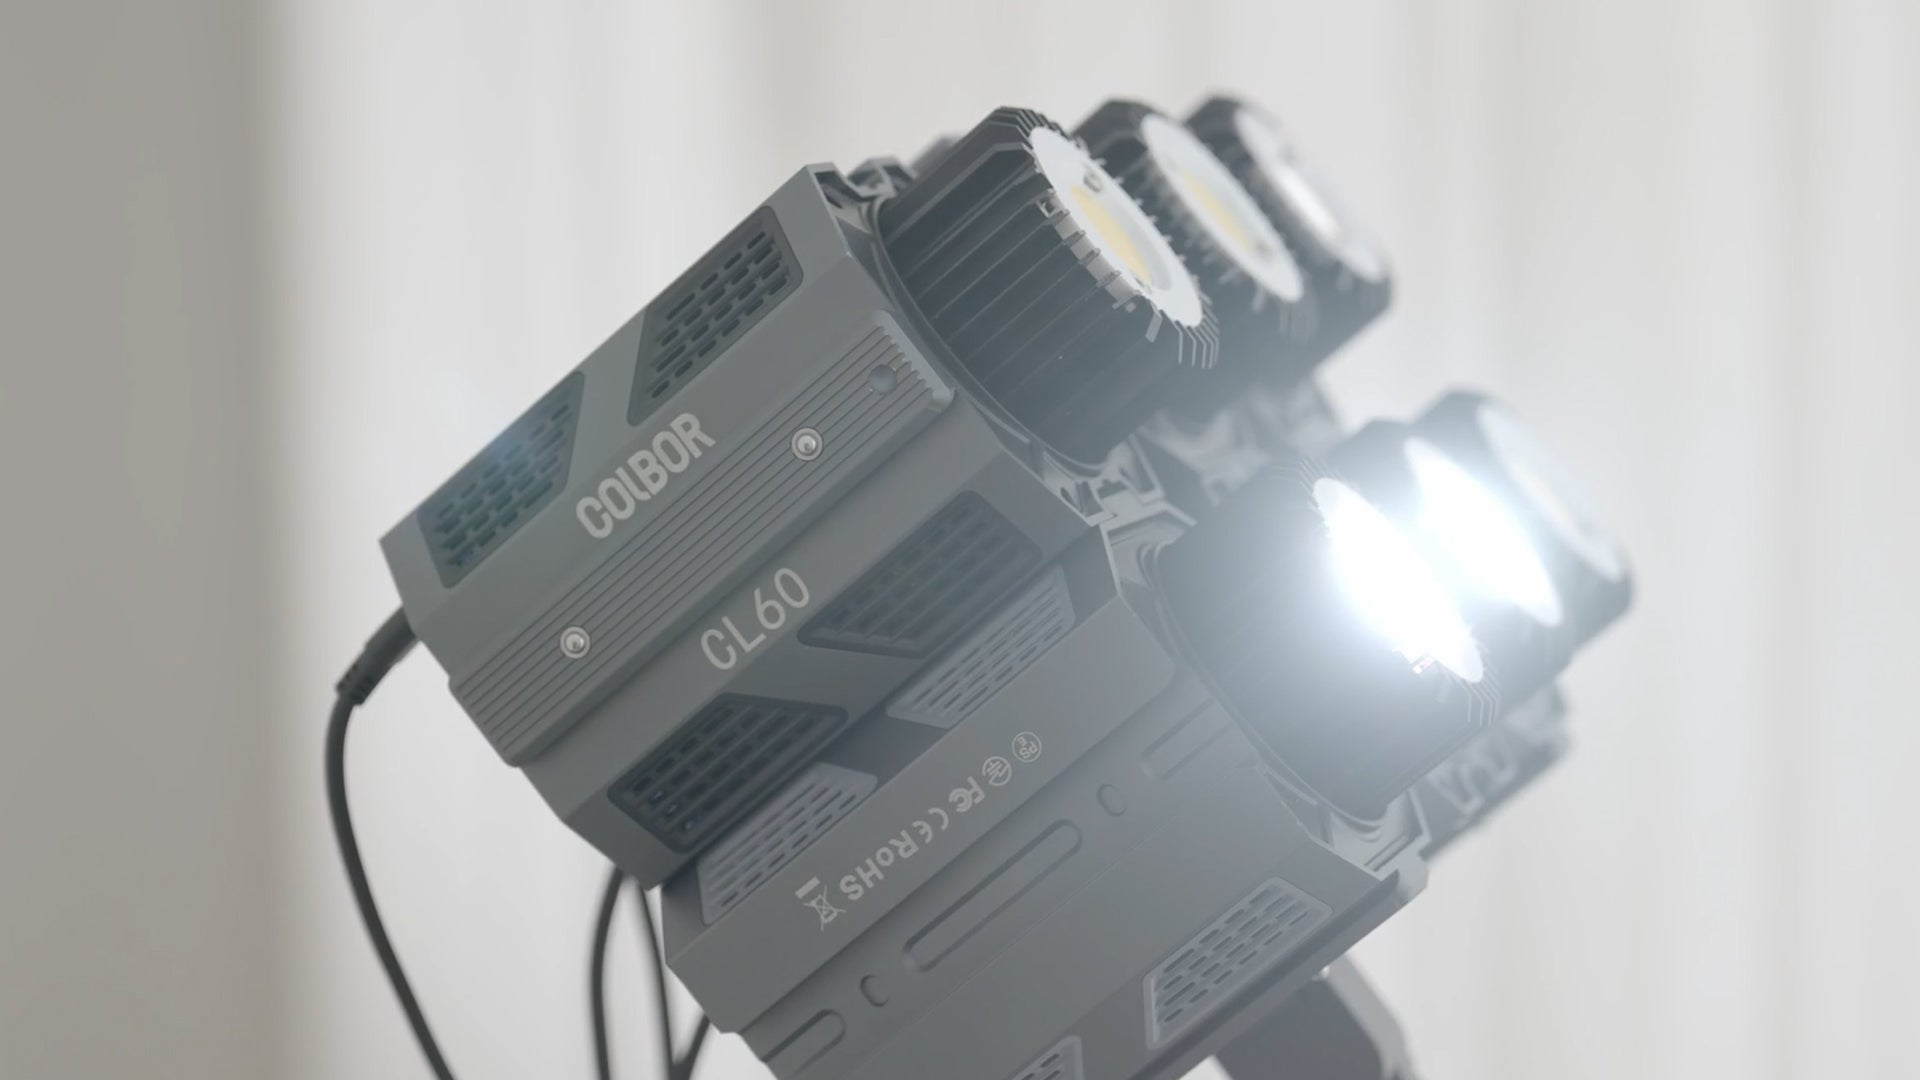
With LED video light for photography, you have a versatile device at your disposal. It emits continuous and even light and allows you to precisely control the brightness and color temperature, making it simple to create the scene you desire in the photography. But how to use led lights for photography? It can be used for various types of photography. In this article we talk about two common types and offer some tips for better photography output. Read on to find a method that is right for you.

Three simple setups of LED video light for portrait photography
It is hard to take up studio portraiture. And you are required to practise various setups of LED light for video shooting which make the subject look different if you want to achieve professional and high quality output. The followings are some simple setups that you can follow even you are a novice.
One light with an octobox and reflector - Ideal for home-made photography studio
This setup is ideal for working in a self - build studio since it is quick, compact, and effective. A mid-sized octobox is ideal in this setting because of its versatility. When the light is raised high and pointed down, it falls on the model's face from above, creating a charming butterfly shadow.
When you are using LED video light for photography in this scenario, just place it one meter (three feet) in front of the subject and tilt a silver or white reflector below her or his face. This combo brightens up the eyes and generates charming catchlights.
Check the video to see how COLBOR adjustable LED lights for photography CL60 performs with reflectors in photography shooting.
Two lights for making key light and backdrop illumination in portrait photography
If one LED constant light for photography isn't enough to brighten your backdrop, consider adding another. This setup generates a more bright backdrop by placing one key light right in front of the subject, approximately one meter distant (three feet). For appealing shadows on the face, raise it up and point it down. Depending on whether you desire softer or harsher illumunation, this method performs well with an octobox or beauty dish.
Position the second illumination device at the angle of 45degree. Keep in mind that it should be behind the model, towards the side, and out of frame. A square softbox will suffice. This setup is also feasible when using studio lighting for fashion photography.
Two lights with softboxes to create clamshell lighting
Clamshell lighting is made up of two LED lights for videography and photography that are placed high and slanted down in front of the model in the shape of a "clam." This setup produces excellent reflected catchlights in the model's eyes, as well as a lovely glowing appearance.
Two square softbox modifiers are ideal for this, but other shapes and sizes can be used as you like.
Three tips to set up LED video light for wedding photography
Capturing high quality photos at a wedding is all about power, mobility, and the ability to adjust the light. Small LED lights for photography are here to meet your needs. But getting the best portable light for photography is the first step. For incredibly excellent wedding photography, you can follow three basic tips below.
Use portable LED light for photography as back light to make wedding dress appear glowing
The direction has a significant impact on the final image. Backlighting is a popular choice for weddings because of the way traditional wedding dress looks when backlit, not to mention the halo-like radiance that it provides in any photograph.
With back light, the bride's veil appears to glow, and the skirts of many bridal gowns also sparkle.
Use sidelighting but watch out for shadows
Another effective way to use LED video light for photography is to position the couple to ensure that the light is coming directly from the side. Side lighting produces more intriguing shadows and is less uninteresting than front lighting.
You can make adjustments to produce the desired amount of shadows, or have the bride and groom turn their faces towards (or away from) the equipment to obtain lighting that adds depth while emphasizing the their greatest features. Remember to void huge shadows on the nose, otherwise the nose will appear larger.
If you have no idea where is the ideal position, place the light at the angle of 45°towards the back or front of the couple, adjust the angle to test which is the best angle.
Use reflector with LED video light kit to achieve even lighting
Reflectors are both a necessary step to learning how to deal with artificial light for photography and a device which most photographers utilize even after they have mastered flash illumination. It is simple to use since it reflects the light that is already in the scene. There is no guessing involved in determining how much light to bring to the scene.
On bright days, reflectors work excellently for wedding photography. Use a reflector in front to reflect part of the light with the sunlight behind the couple. It will fill in the couple, resulting in more equal exposure of the subject and backdrop.
Besides the aforementioned applications, you can also use the LED video light for still photography. Check the article Four basics about continuosus light for food photography to acquire the tips for better food photography.
Conclusion
LED video lights bring plenty of benefits to photographers and filmmakers. They are versatile, portable, cost-effective, and throw out little heat, outperforming fluorescent, incandescent, and HMI light sources. When using LED video light for photography, just figure out what type it is, and follow the corresponding tips to achieve high quality outputs.
